In the past I would zoom in to 200% or higher on a star while using a Bahtinov mask, adjusting the focus and centering the line between the two fixed X lines. I found when doing this with the DS26c there was a noticeable lag time between adjusting the focus and seeing the line move, even with very short exposures. I realized that even though I was zoomed in, it was still retrieving all of the very big 6224x4168 image for each update and then just showing the zoomed in portion. It didn’t matter that it was a short exposure because the delay was mainly due to the large megapixel image transfer from the camera to my laptop. The camera may take a few seconds to do something prior to the transfer - retrieve data from buffer, prep all that data to send via USB3, etc. I first checked to make sure Sharpen was at 0 (using Sharpen does cause slight delays). Sharpen was 0. I switched to the Region of Interest function and put the ROI box around the star, clicked on Apply and then on Fit to Window. What a difference! The screen updated immediately as I adjusted the focus since only the Region of Interest was being transferred from the camera to the laptop.
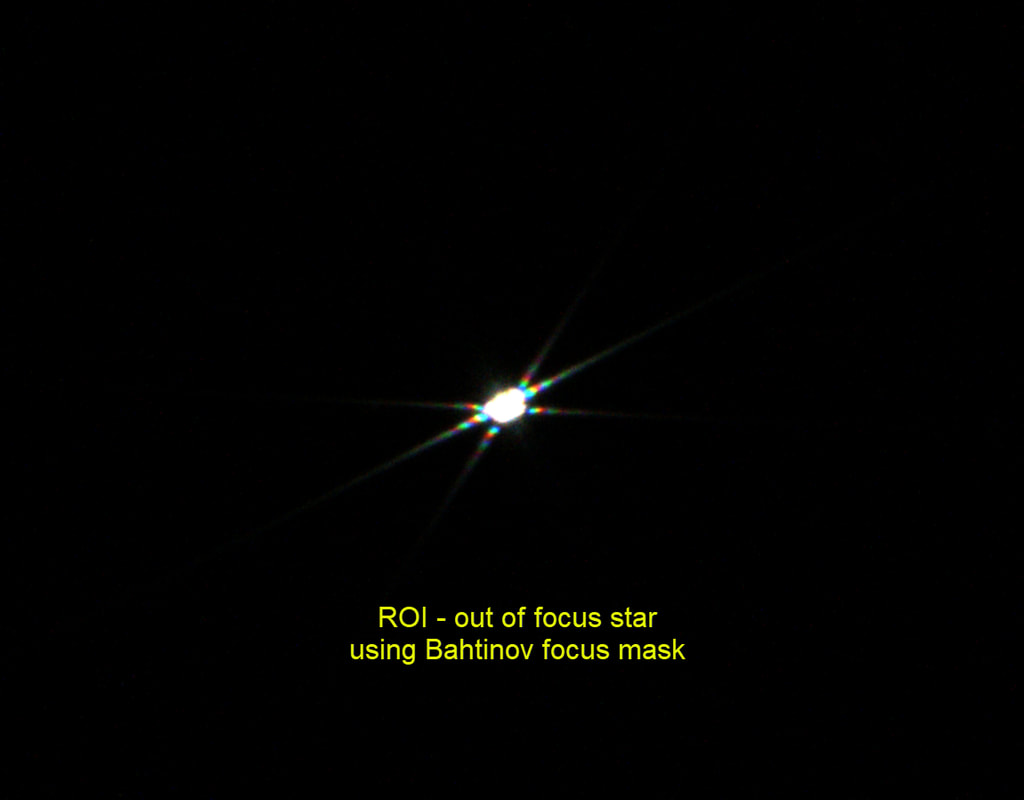
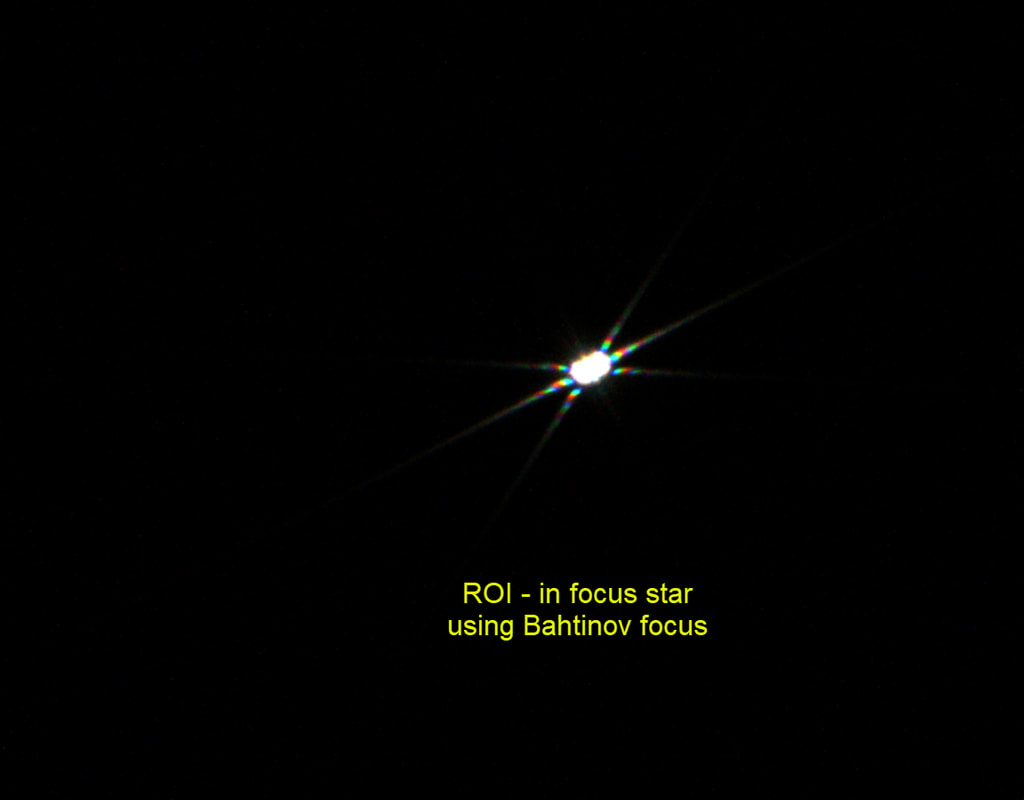
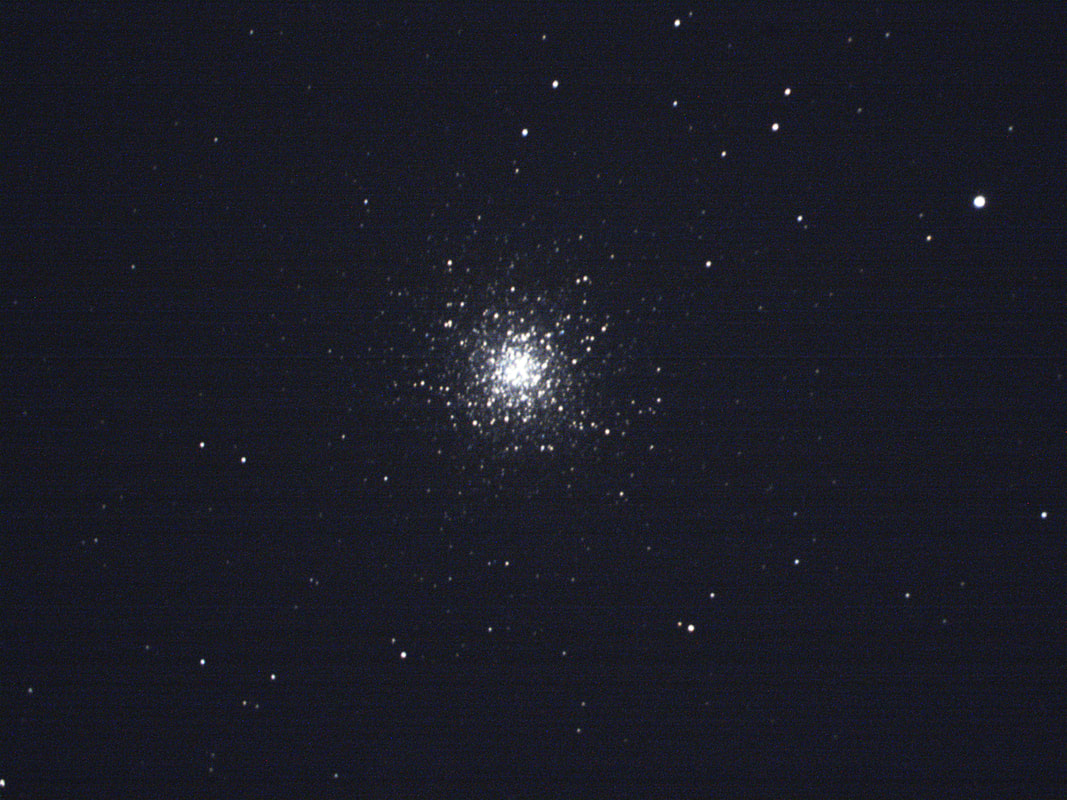
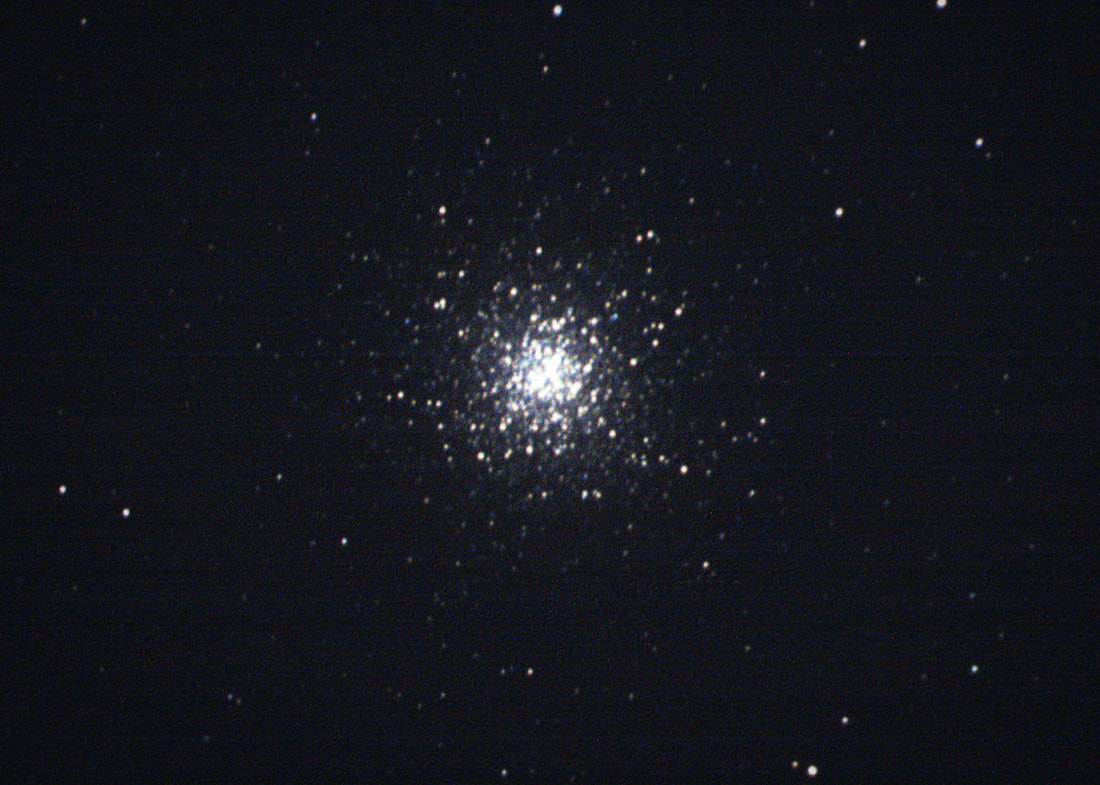
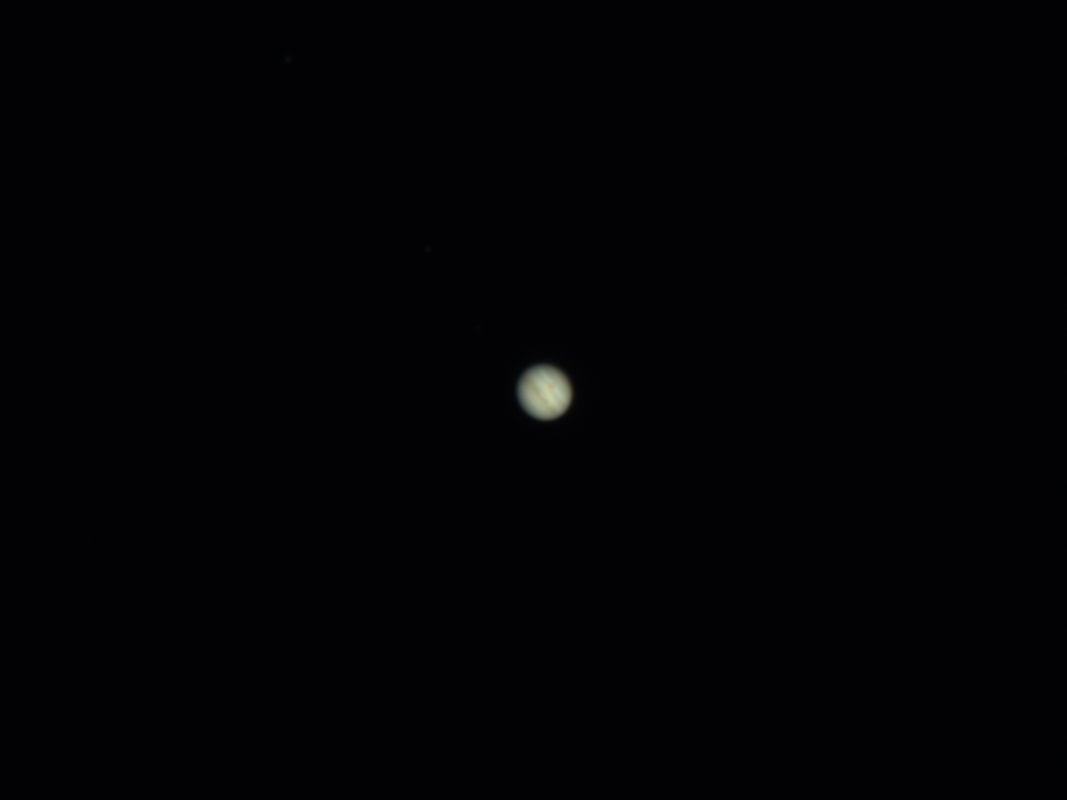
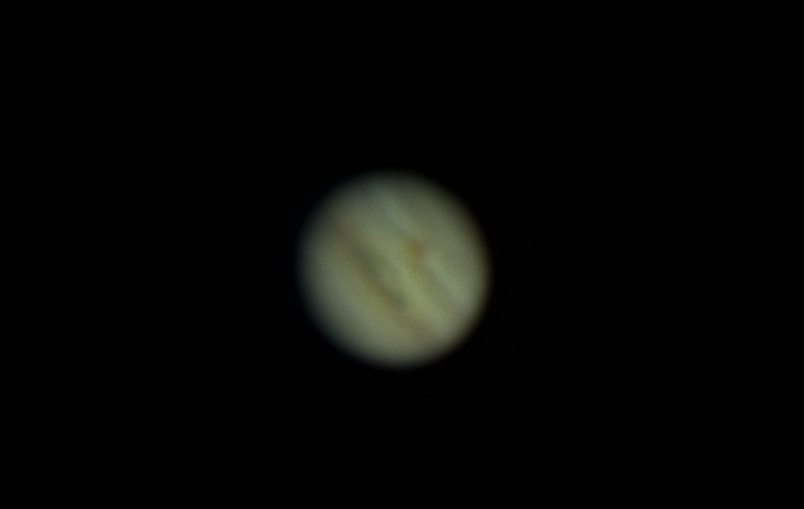
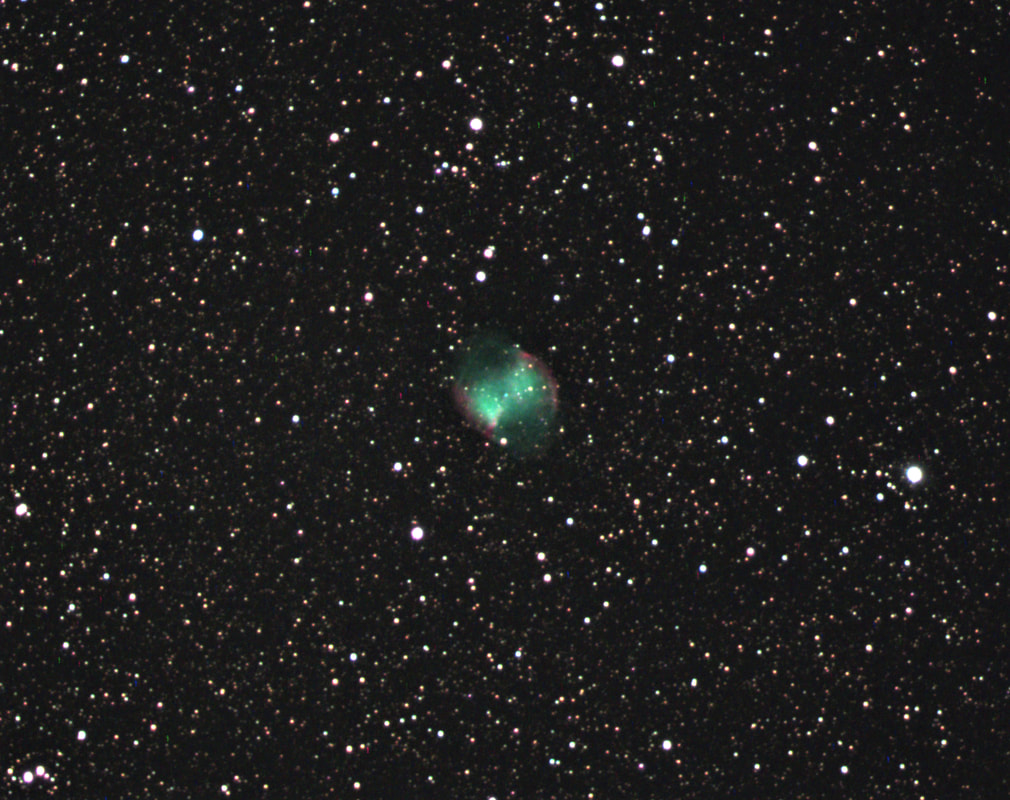
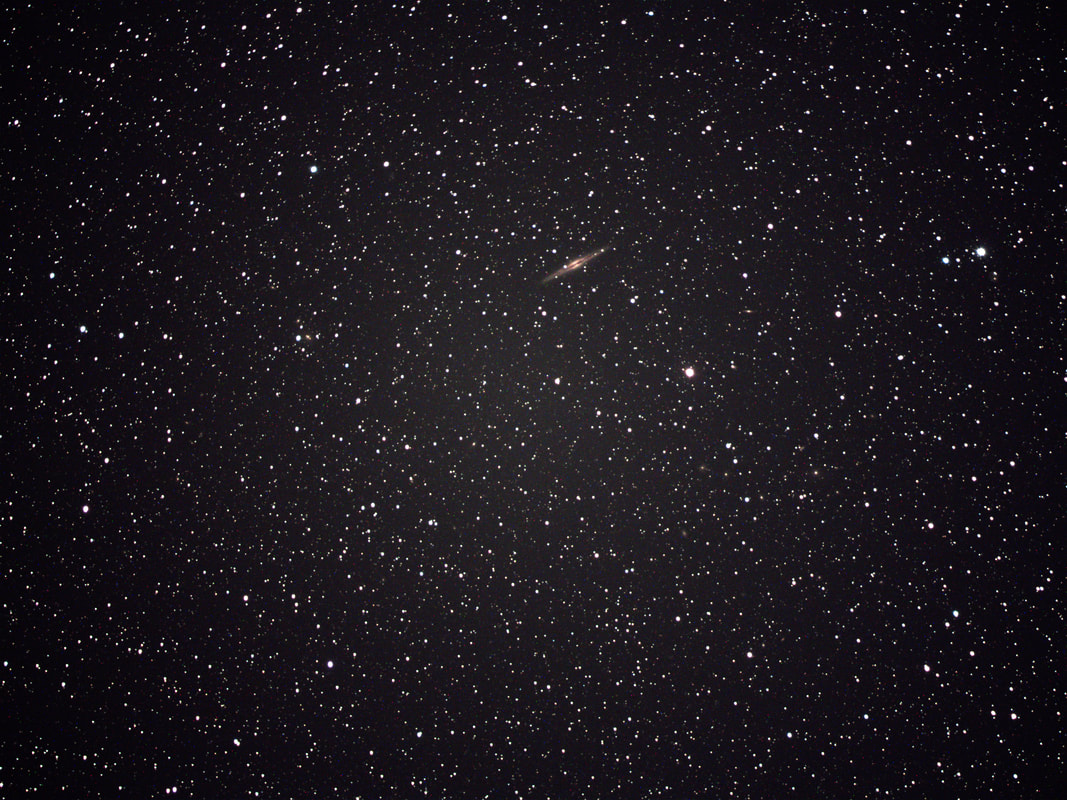
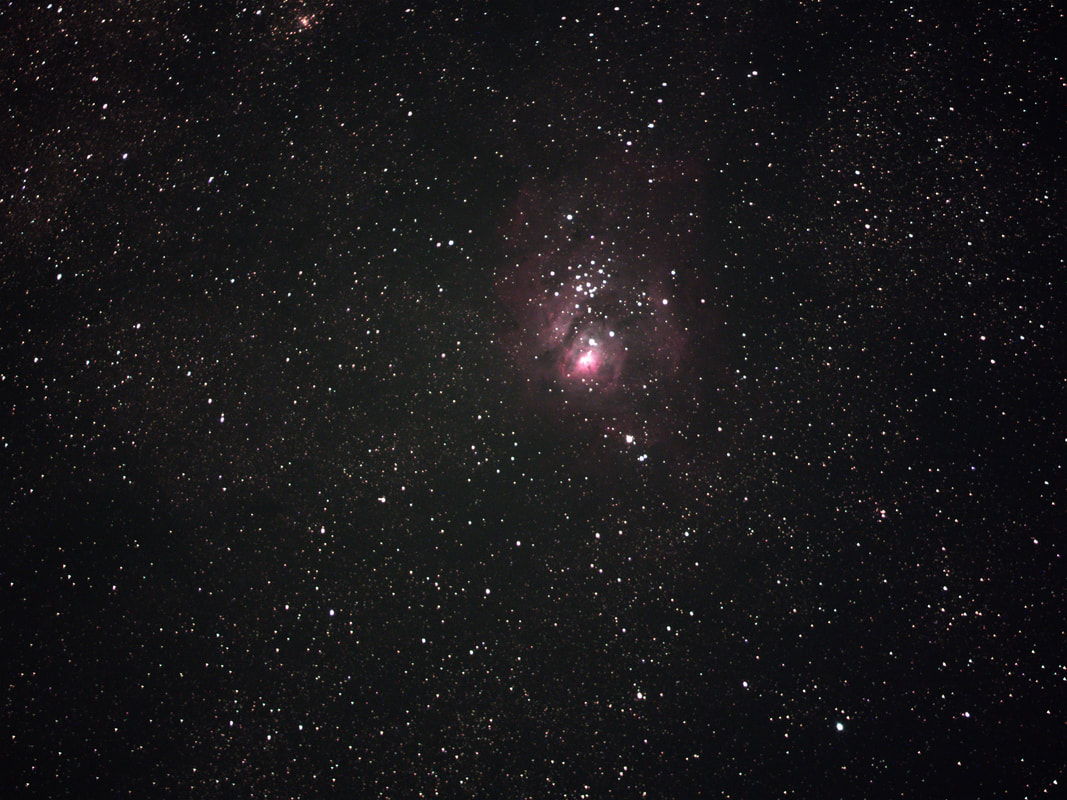
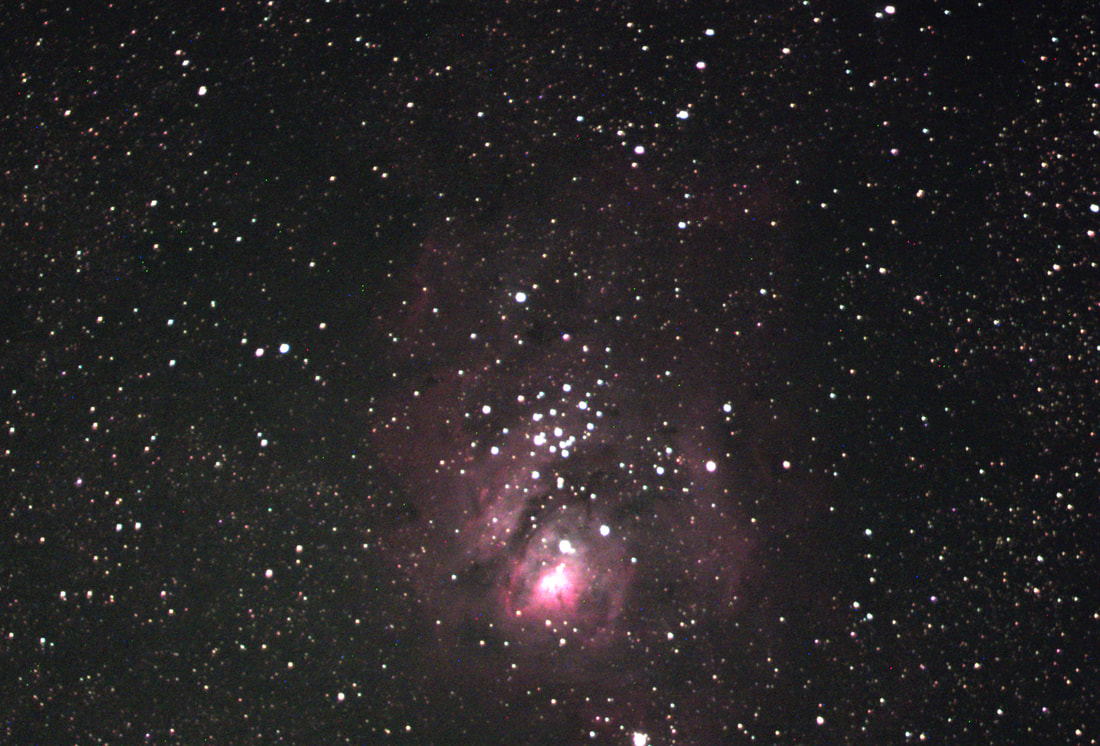
Here are two 1150x898 images that are just the ROI around a star. I also found when you save a ROI image the file size is just the size of the selected ROI, in this case just 3Mb. One is a little out of focus and the other is when I had it focused. Since only the 3Mb ROI portion was being transferred from the camera to my laptop, I could see the line move in real time as I adjusted the focus.
An alternate way to increase the update speed while focusing is instead of using the ROI function, switch to a higher bin setting such as 3x3. At this bin setting I could zoom in on a bright star to fine tune focus in real time. Even though it is retrieving the full FOV image and just displaying the zoom area, the full FOV image contains a lot less pixels at 3x3bin (about 8Meg) and thus updates are fast enough for focusing.
I also started using higher binning when slewing to a new target. I would set it to 3x3bin before slewing and select Fit to window so I could see the full FOV. This typically overexposes the image but that is OK at this point. Once it finishes slewing to a target I can quickly tell if the target is centered. If not, there is hardly any lag time in the screen updates and you can make minor adjustments to center the target in the FOV. I then switch to a lower bin setting such as 1x1 or 2x2 to actually view the centered target.
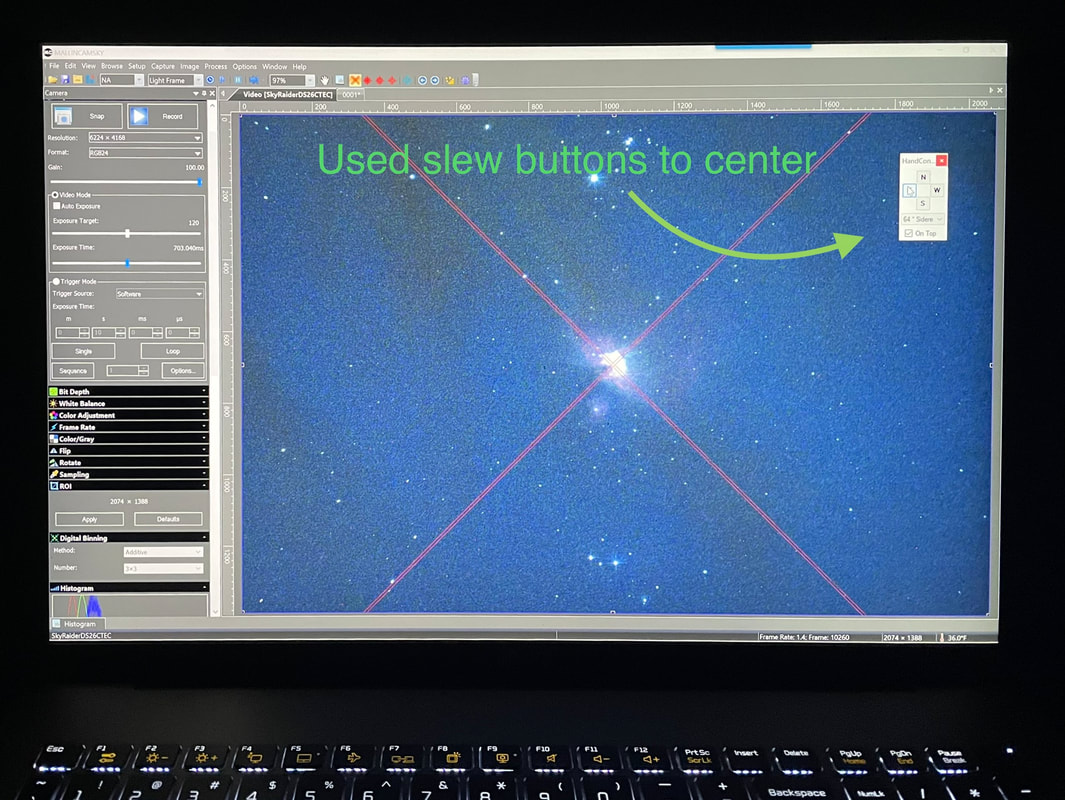
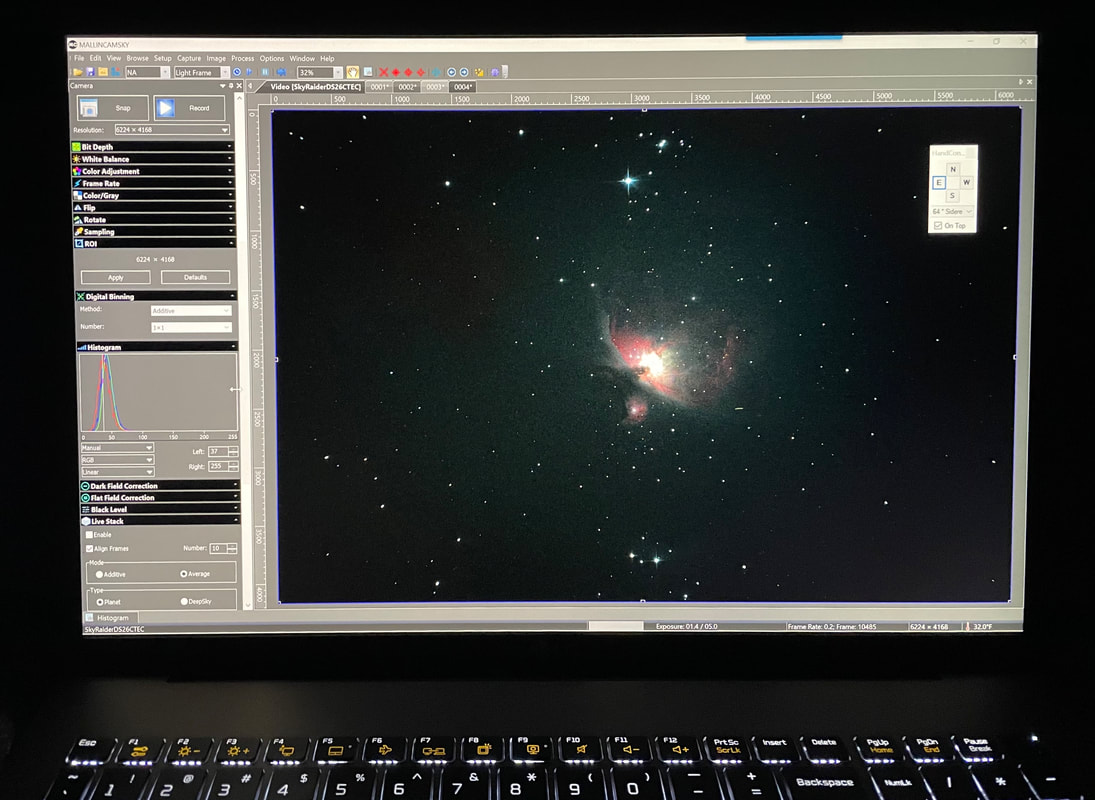
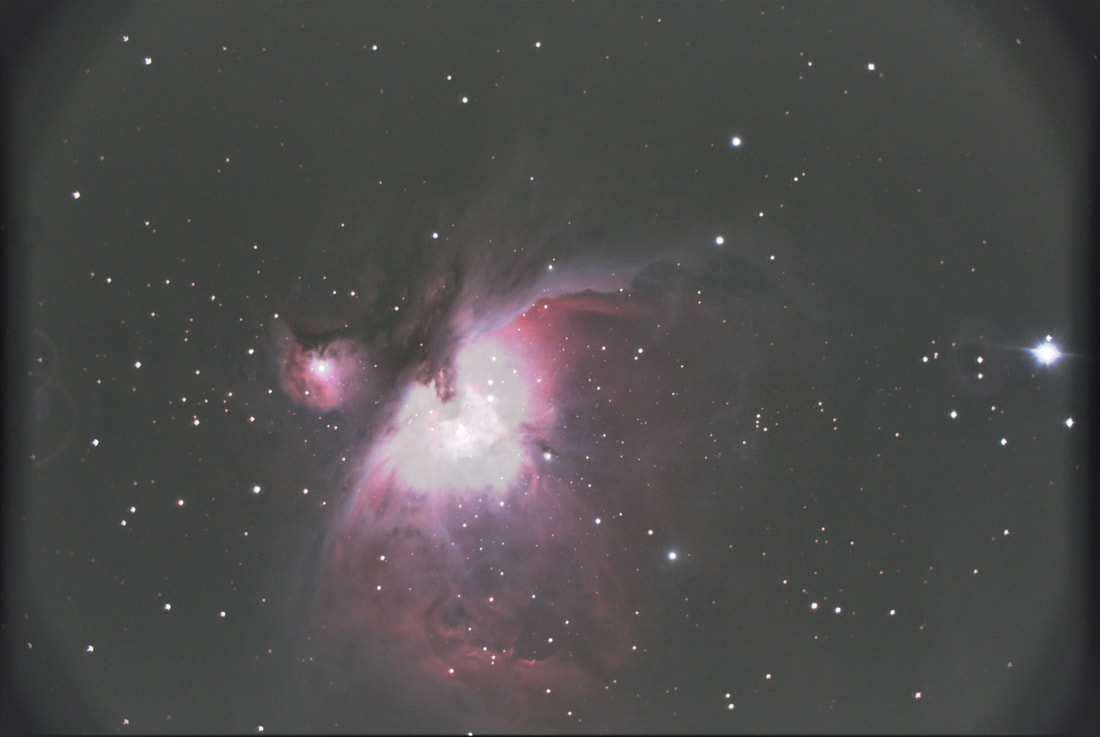
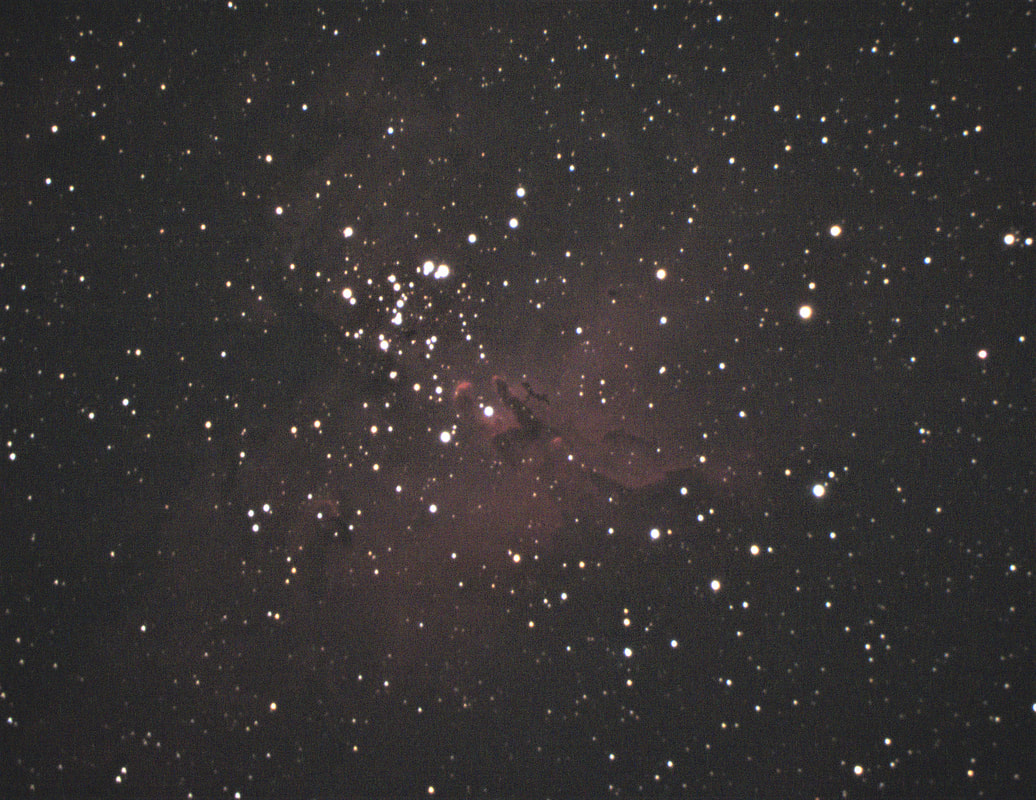
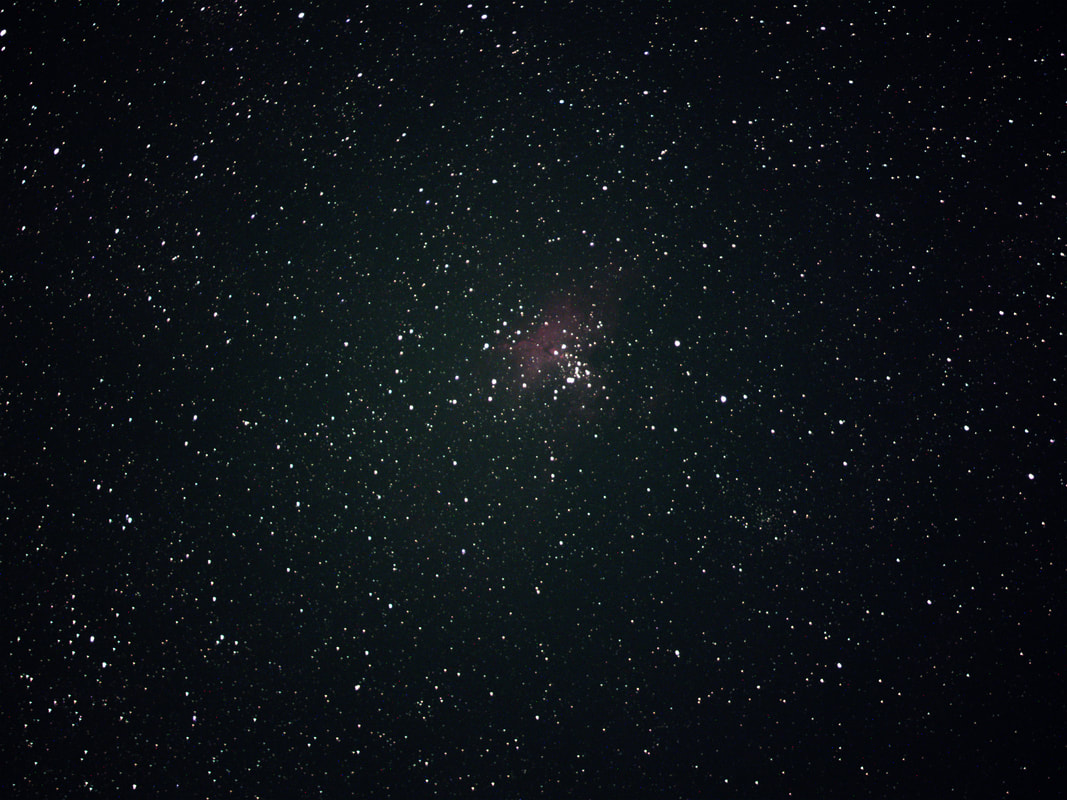
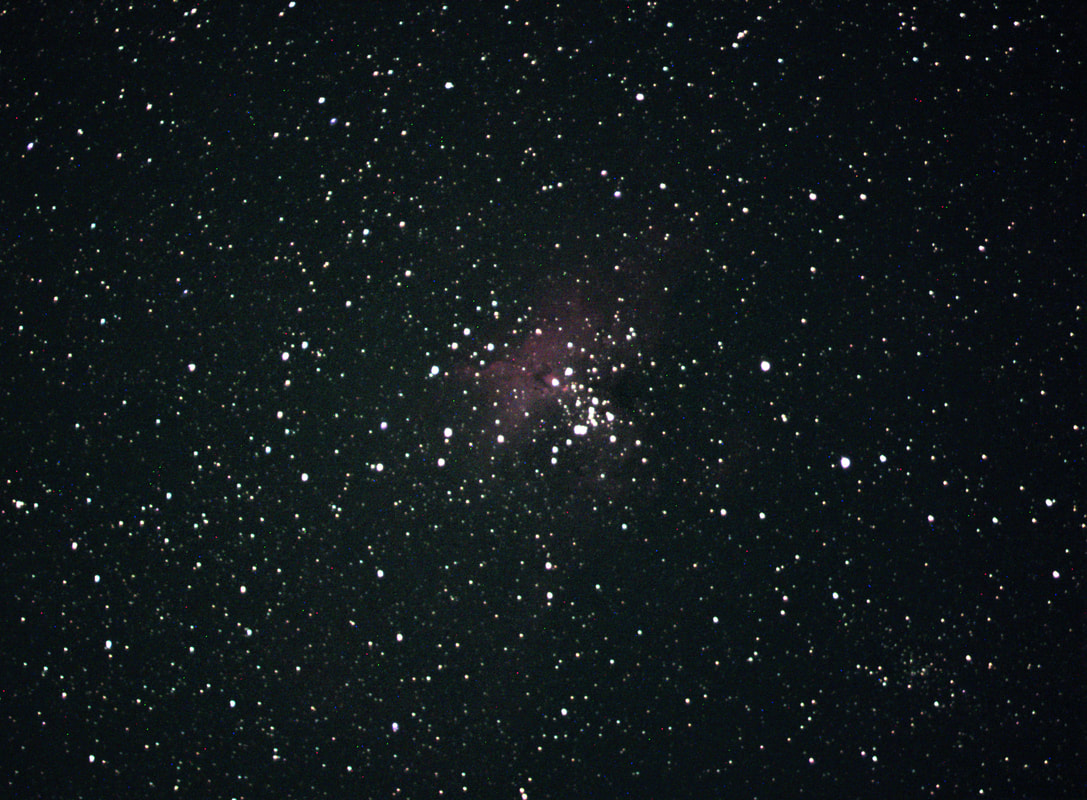
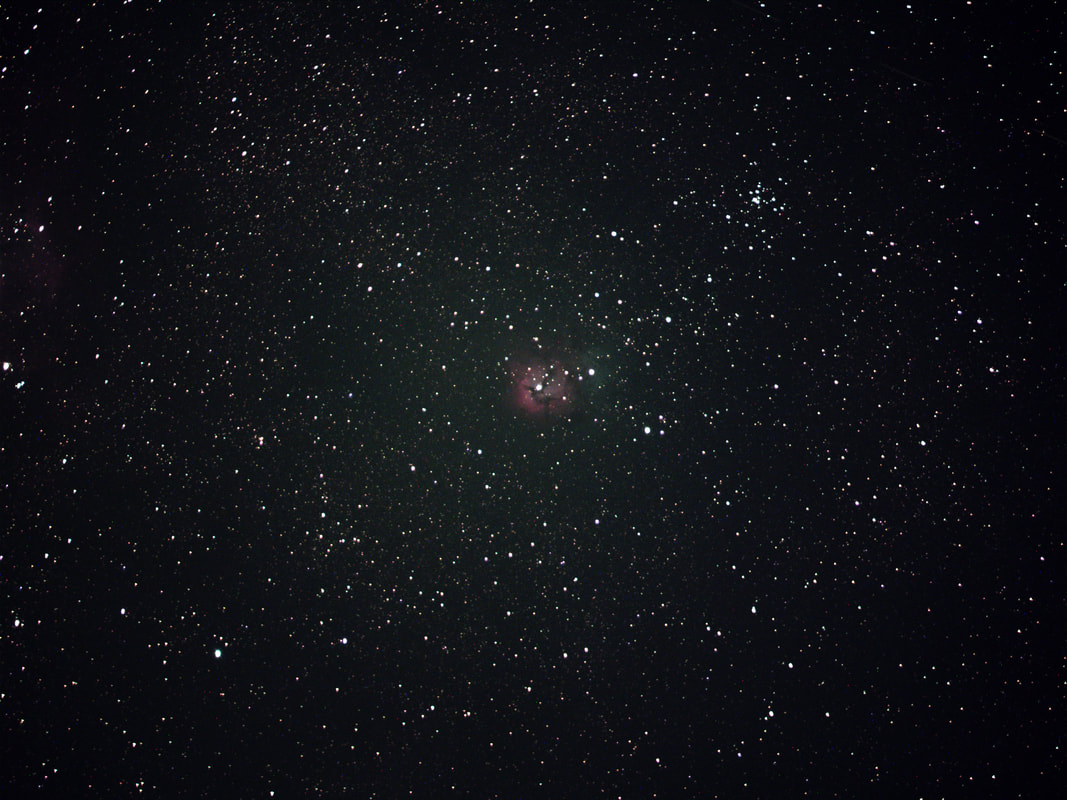
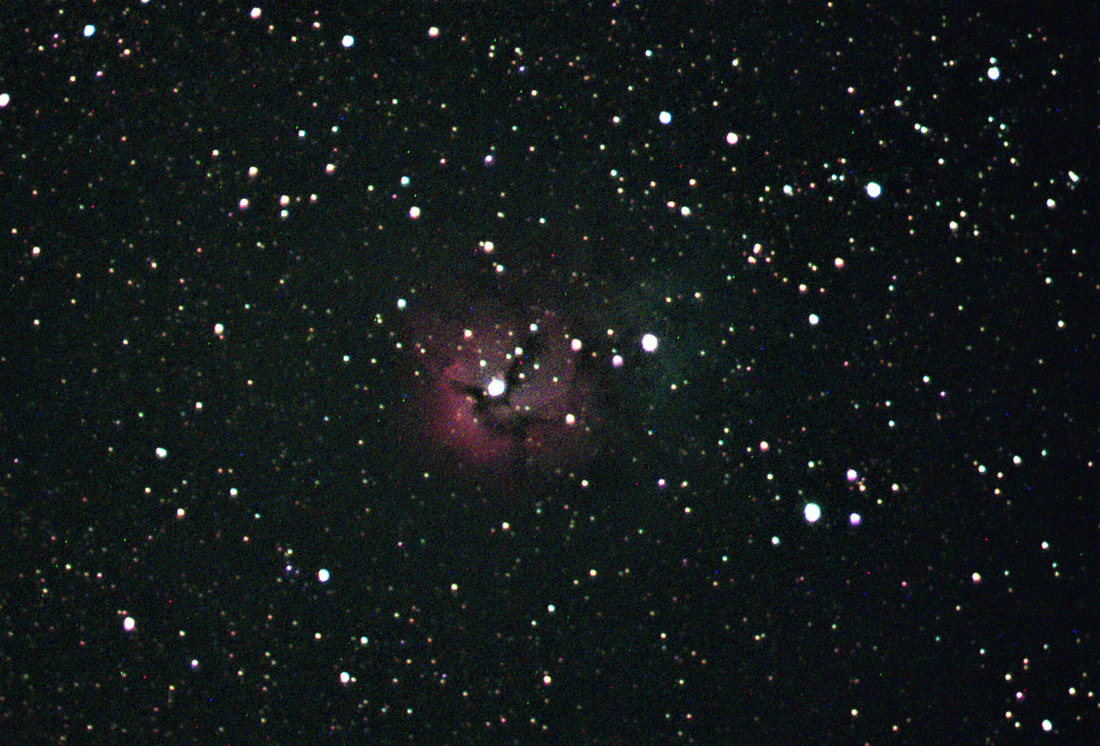
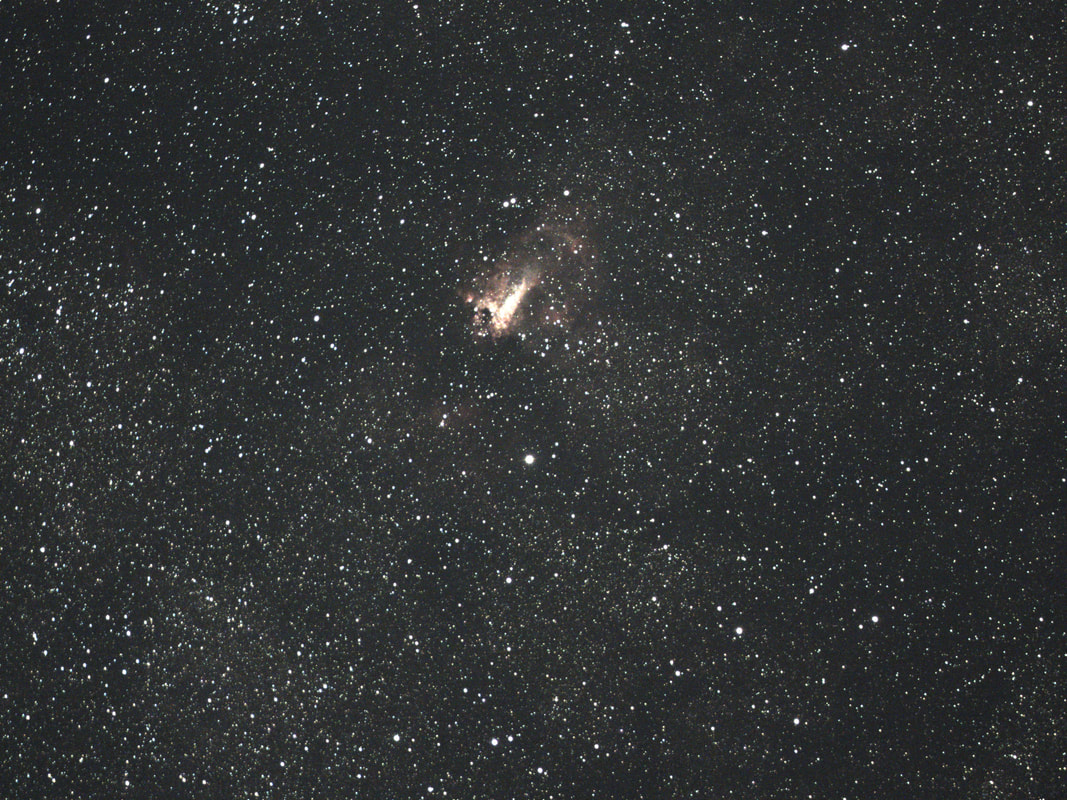
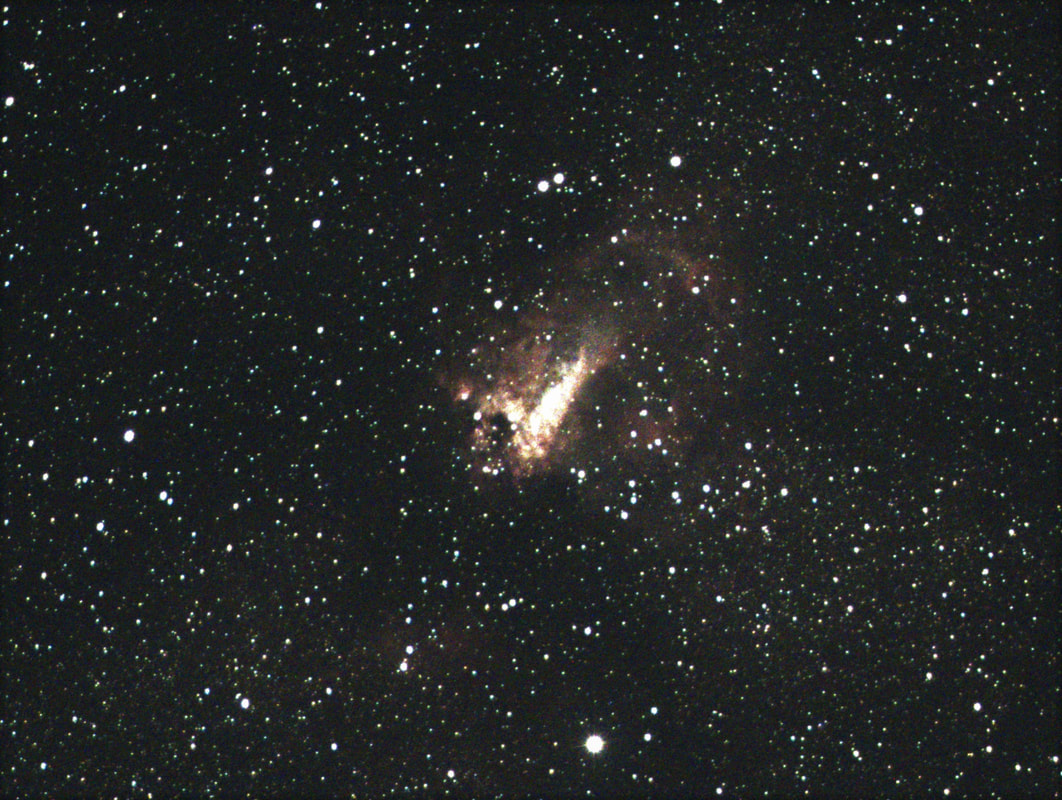
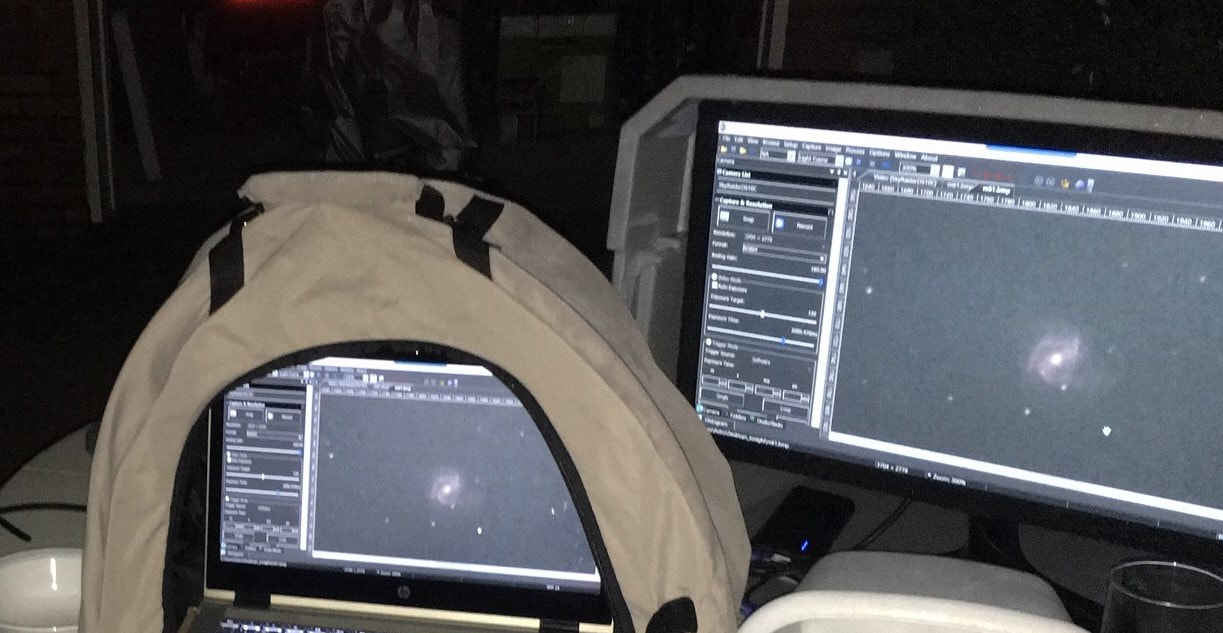
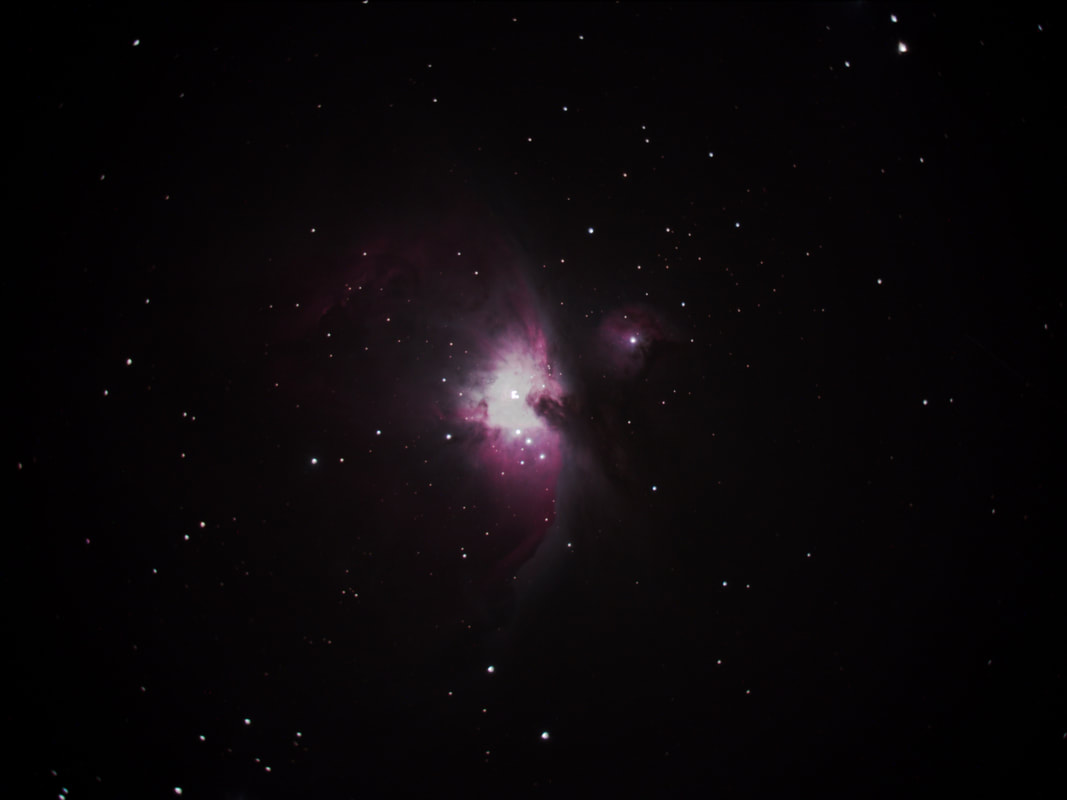
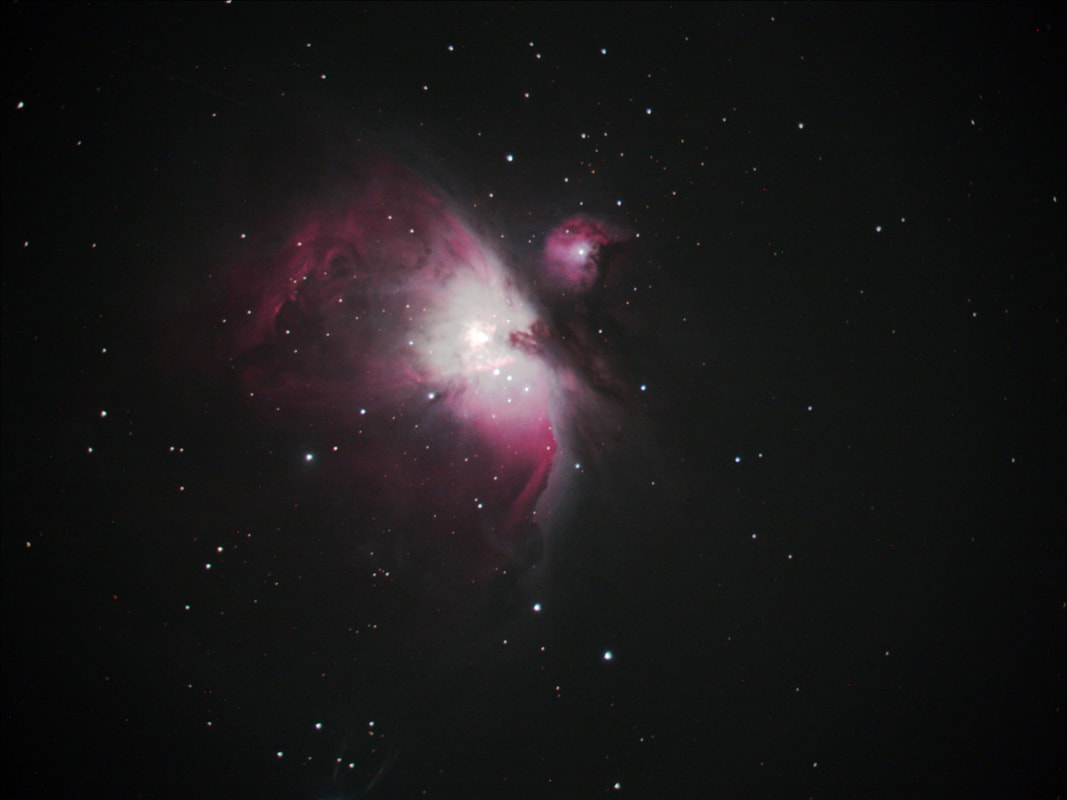
Last night I used the DS26cTEC on my SkyProdigy 130 (5” Newtonian) to get an example of centering M42 (Orion Nebula) at higher binning and then switching to lower binning for viewing. Below are pictures of the laptop screen displaying the image at 3x3 binning after slewing to M42. The picture on the left is where I saw the target was slightly off center. I was able to use the ASCOM virtual hand controller to quickly make minor slew adjustments to center M42 as shown on the picture on the right.


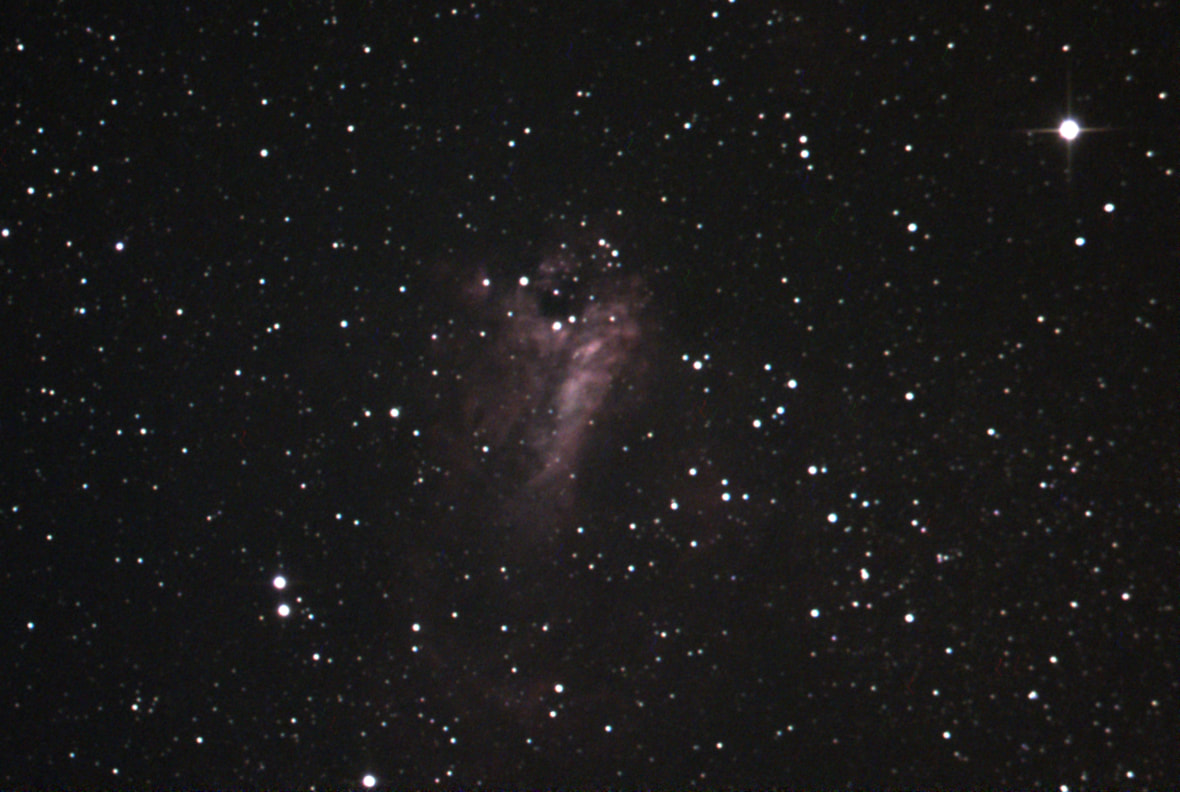
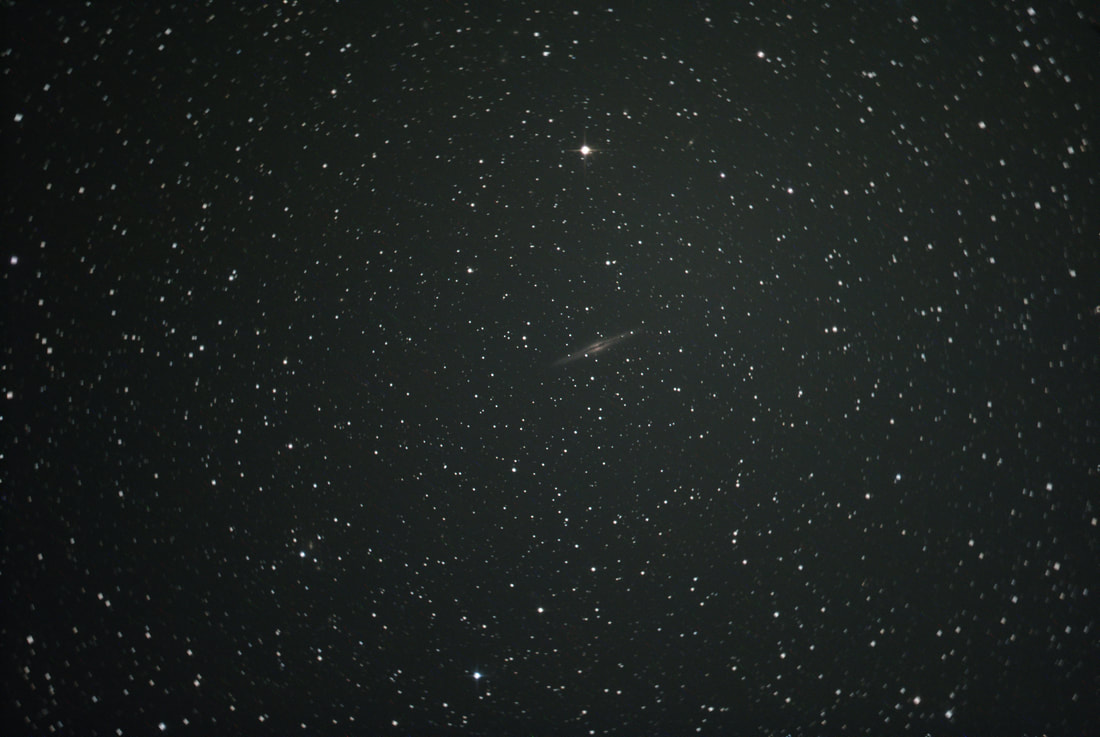
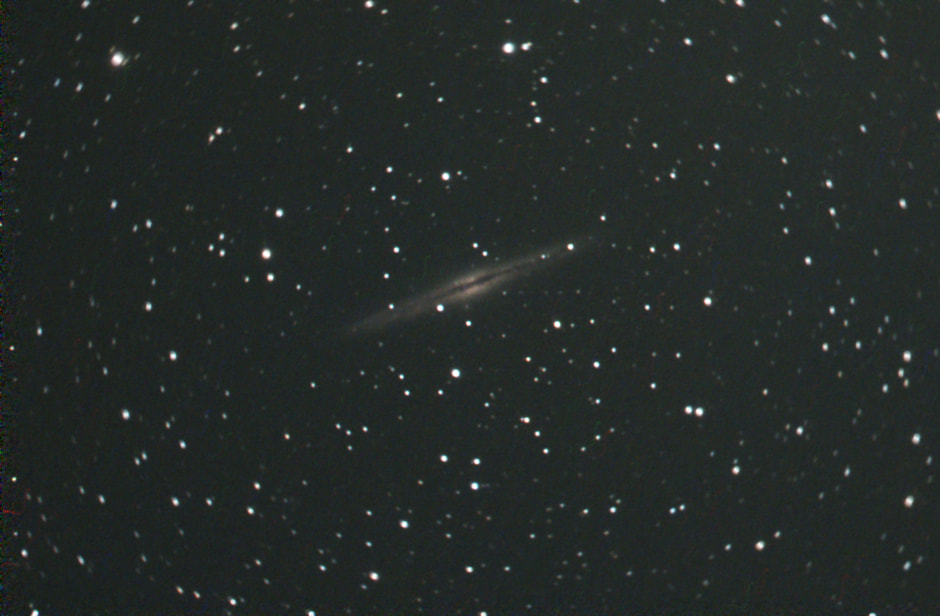
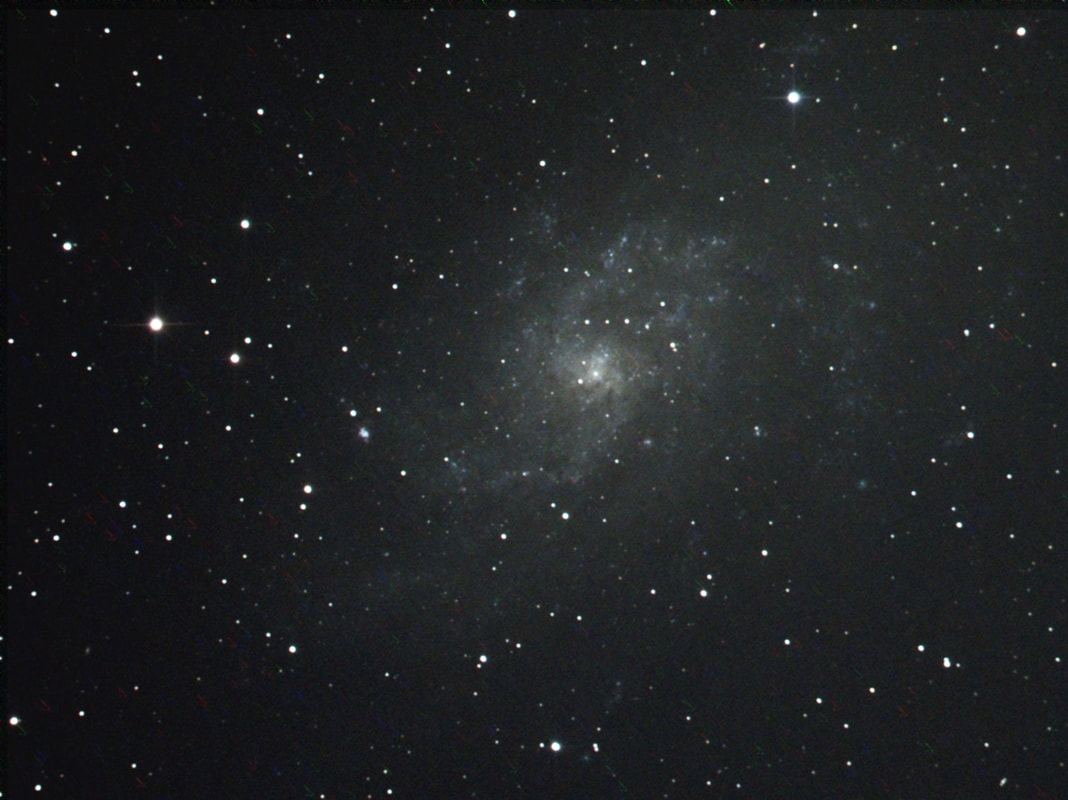

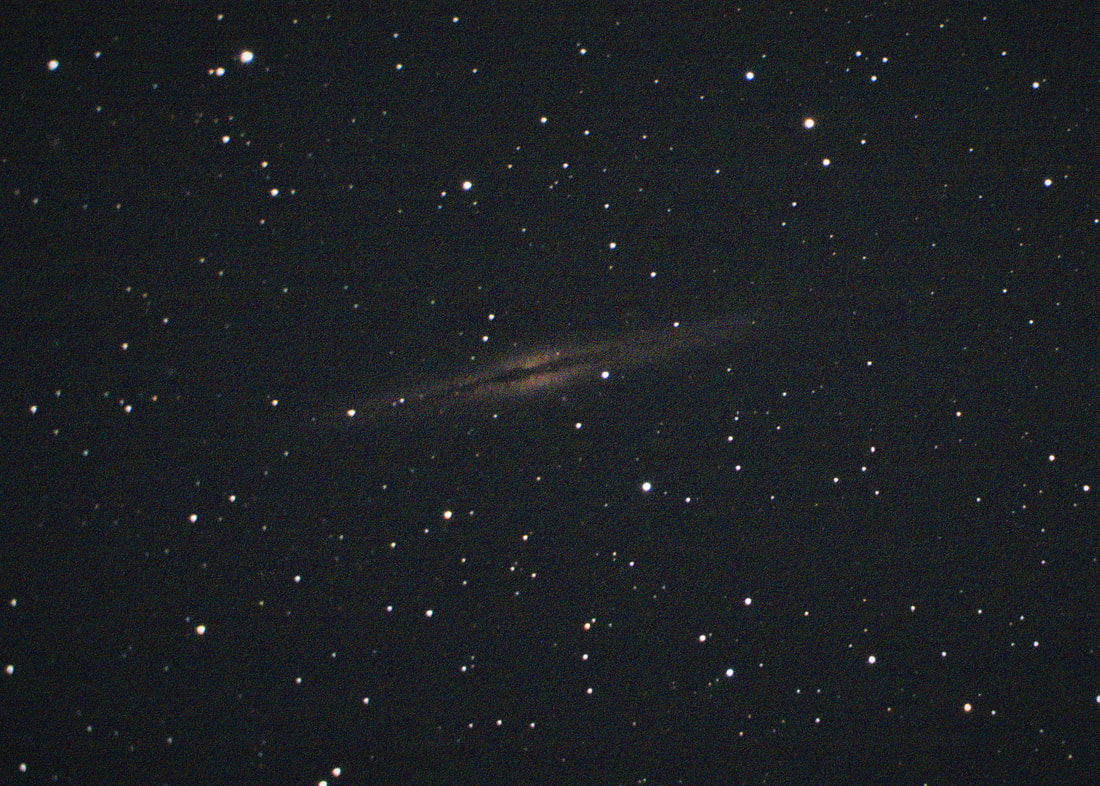
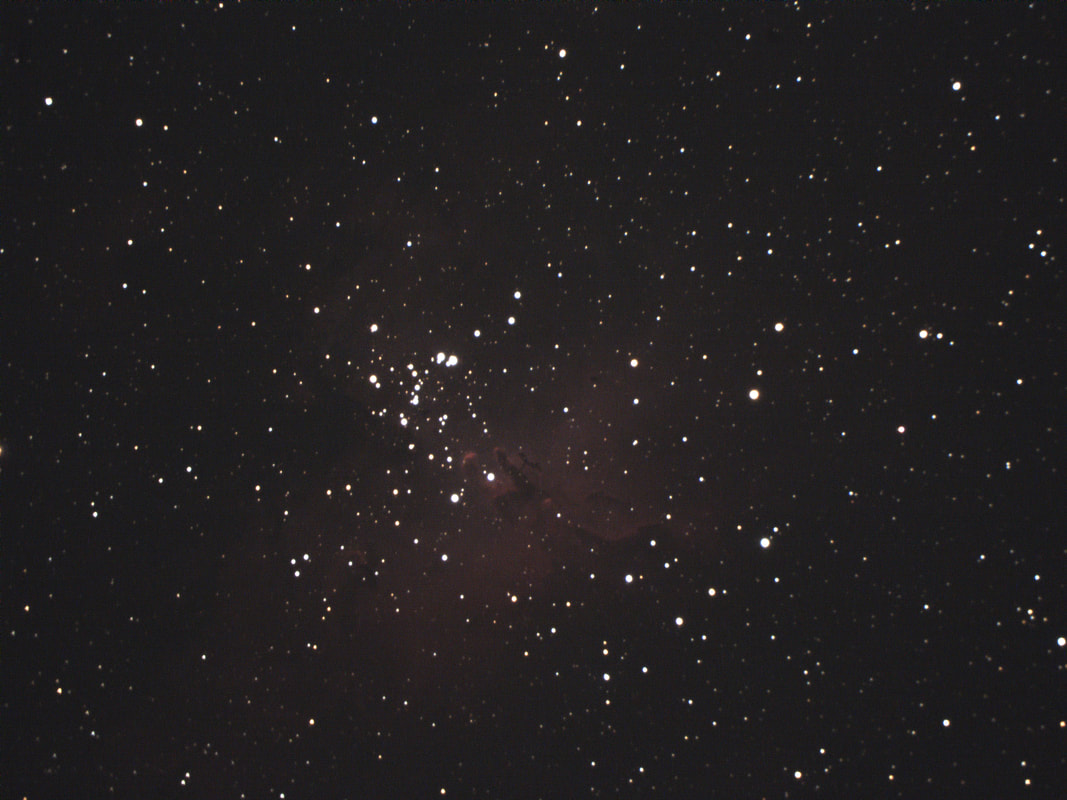






















 RSS Feed